

I’m not going to be the person who spends 40 minutes of their life writing yet another blog post about the benefits of elderberry. I will, however, be the person who writes the blog post about how to grow and harvest elderberry. With the current pandemic on our door steps, the price of elderberry related products have soared in price or have become a scarcity even more elusive than a roll of toilet paper. Who would have thought? This has encouraged a lot of folks to seek out cuttings and shrubs to start their own elderberry patch. Which is awesome, because elderberry not only has a long list of health benefits, it also attracts a variety of beneficial pollinators and hummingbirds to your yard. Just make sure you properly cook the berries before consuming, as they are mildly poisonous straight from the vine.
Elderberries, yes, even the varieties known for producing the flavonid rich berries used in many syrups, jams and jellies contain cyanide-inducing glycosides. Simply put, this means that if you eat enough ripe elderberries without properly cooking them, cyanide will build up in your body and make you very sick. Every part of the elderberry bush is poisonous to humans in mass quantities and contains these glycosides. Don’t let this scare you, they are perfectly safe to have in your yard as long as you are not eating the leaves, chewing the stems or eating the ripe berries right of the vine. Besides, you would probably be surprised by how many potentially poisonous items you have growing in your yard (that you more than likely bought from a lawn and garden center because it was pretty) that has zero health benefit, so don’t give up on the idea of growing elderberry. The benefits of elderberries far outweigh potential risk of growing, just make sure you keep small children away from the ripe fruit until they understand it can’t be eaten straight off the vine.
Having an elderberry patch in your yard is a real gift of nature. Used for centuries for their immune boosting capabilities and bountiful antioxidant flavonoids, an established berry producing bush can provide a potential safety net during cold and flu season. Of course you will need to properly prepare the ripe berries first by cooking them. Most people make an elderberry syrup from the berries and take it daily during cold and flu season. If this is something you are interested in doing once you have an elderberry patch that produces, be sure to check with your doctor or pharmacist before staring an elderberry regimen, especially if you are taking any medications currently.
Establishing an elderberry bush that produces takes some time, unfortunately. You most likely won’t get berries the first year you plant. You will get the beautiful, white elderflowers, but the shrub generally won’t set fruit until its 2nd growing season. During the first year, it is recommended to prune the flowers so that the the bush can expend its energy establishing a healthy root system that will support the plant for the long term.
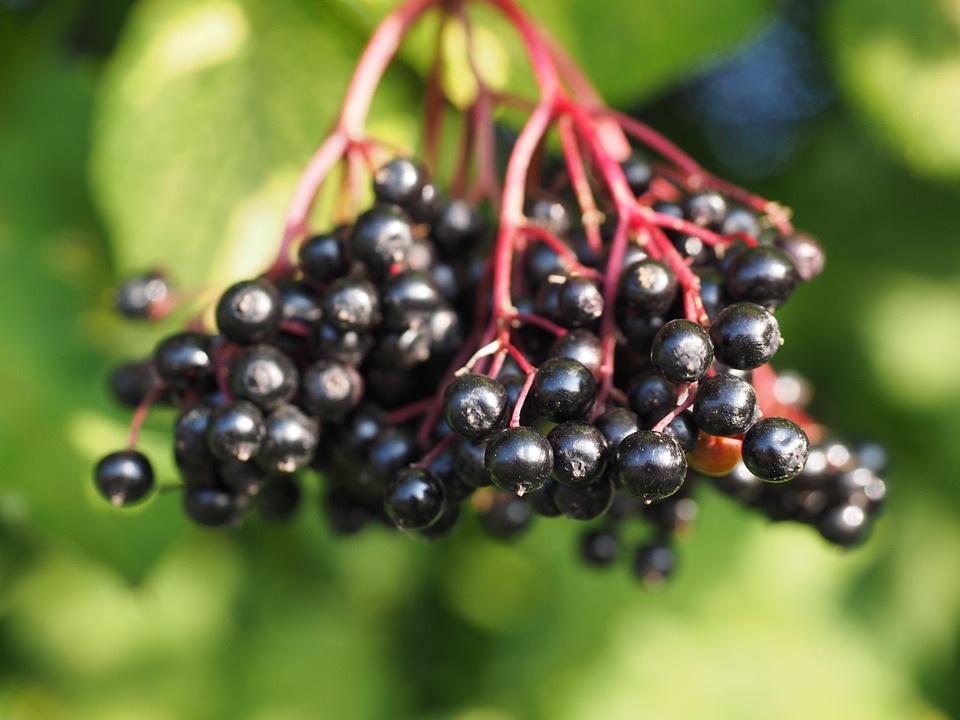
There are a variety of ways to start growing elderberry in your yard. If you are wanting to eventually use the berries for medicinal syrups, jams or jellies you want either the American (sambucus nigra canadensis) or European (sambucus nigra) varieties. They produce the dark purple/black colored berries. There are a variety of ornamental elderberry bushes that are sold in many lawn and garden centers, but they do not have the same medicinal qualities. The American varieties are hardy in zones 3-8 and are native to the Southeastern region of the US, which is a win win if you are also looking to add native plants to your landscape. The European varieties sometimes struggle to thrive in the US, and generally grow well in zones 4-8. Some European varieties also have the potential to grow 20 feet in height, which is something to take into consideration when deciding on where to plant.
American Varieties: ‘Adams’, ‘York’, ‘Nova’ , ‘Aura'(I personally grow ‘York’ and ‘Nova’)
European Varieties: ‘Eva’, ‘Black Elder’
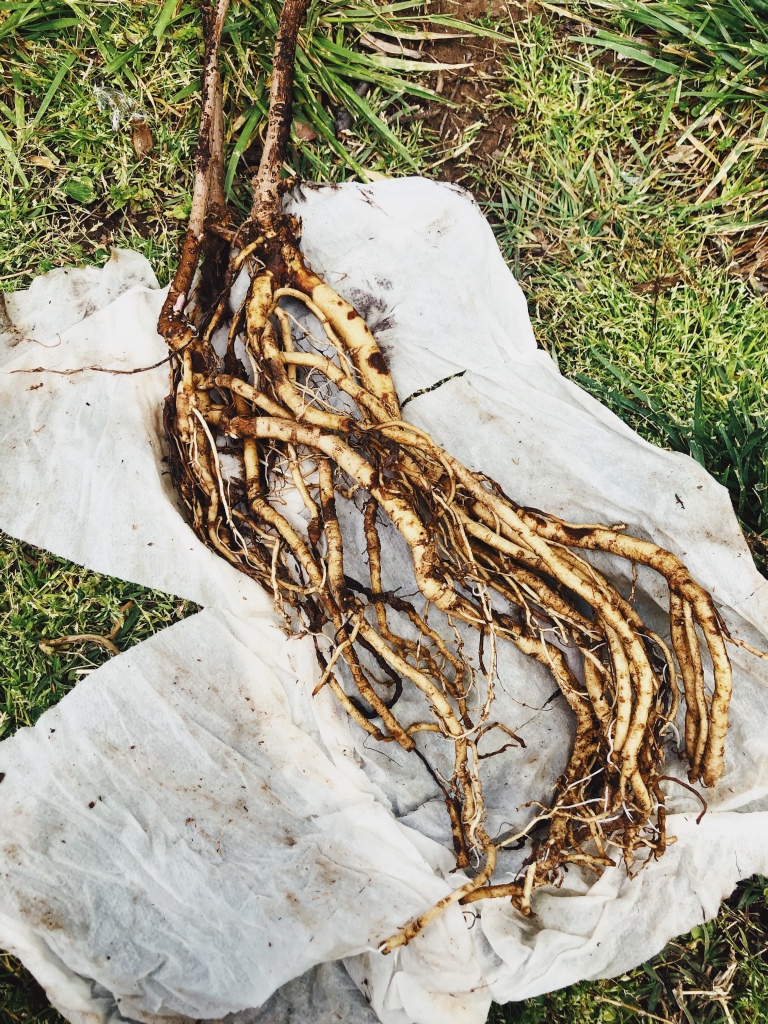
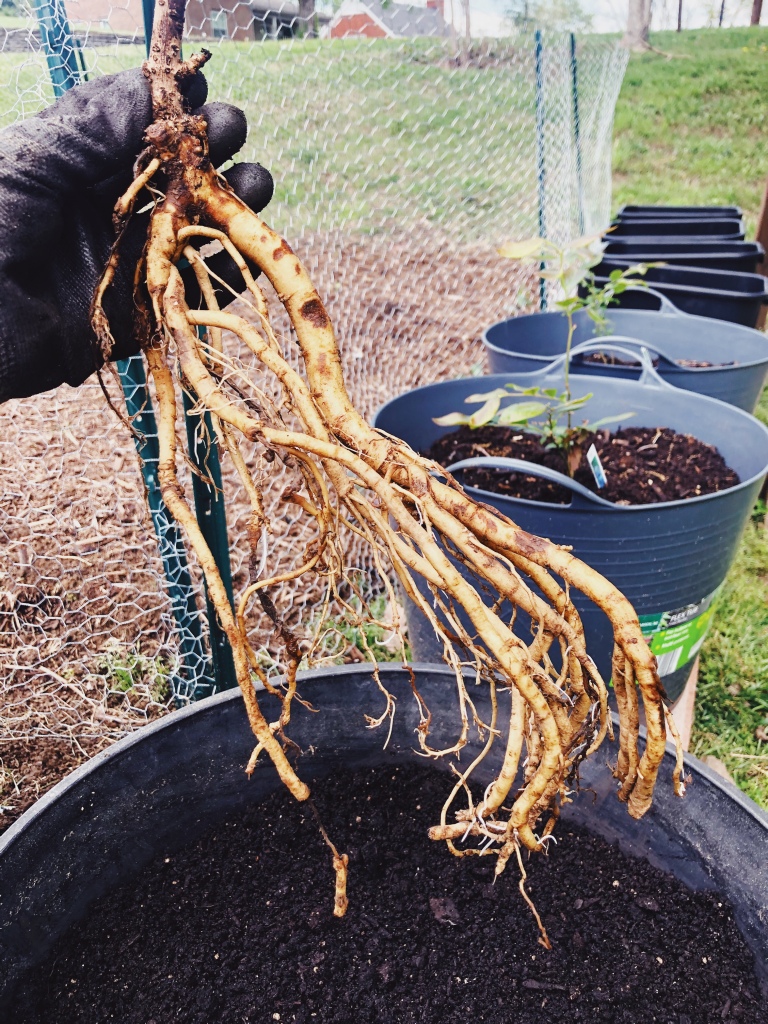
One of the questions I get asked the most is where to buy elderberry bushes from. Unfortunately, they aren’t always easy to find. The easiest and most cost effective way to acquire an elderberry is to take cuttings from an established shrub. These are taken from the shrubs while dormant (January-March) and will then need to go through a rooting process before transplanting. You’ll want to acquire or purchase your cuttings 6-8 weeks before the last frost to give the roots plenty of time to grow. Once you’ve received your cuttings, you can place them cut side down in a jar of water and place them in a warm, humid environment (I place mine in a sunny windowsill). Change the water often, at least 3 times a week. It is possible to add a rooting hormone (such as GardenSafe’s Take Root) as well to speed up the process, but I find they typically root quickly using this method without the hormone. Roots grown in water are especially fragile as compared to roots that were established in soil, so take extra care during the transplanting process.
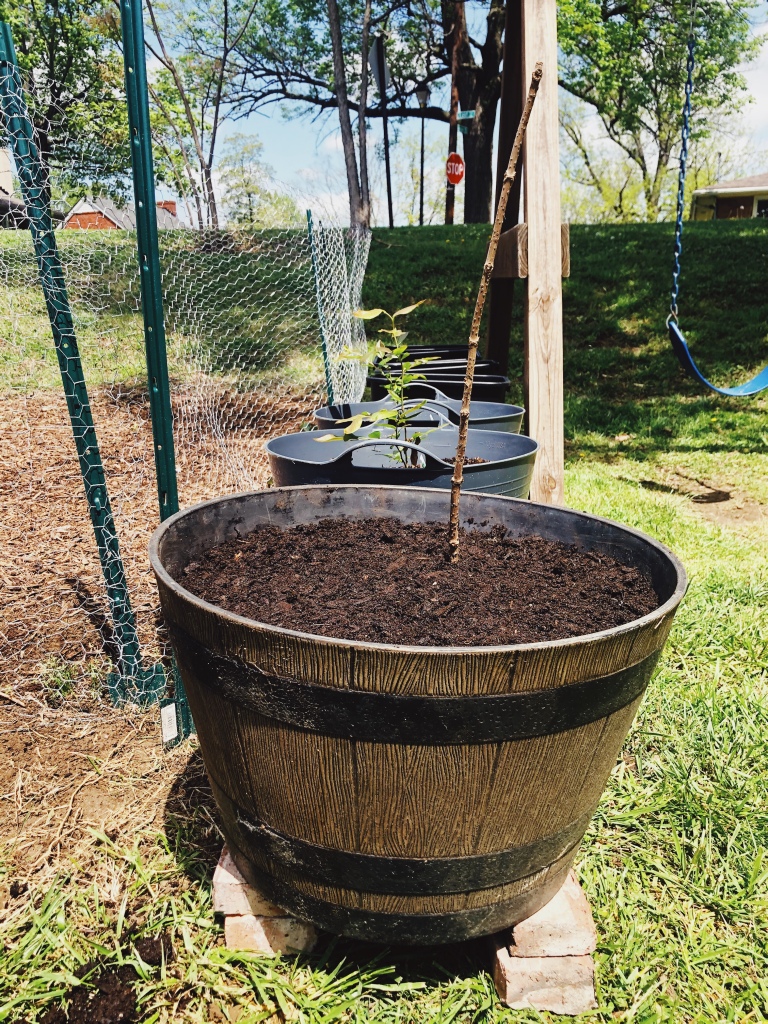
You will need a high quality, soft soil for your elderberry transplants. Currently, I am growing my elderberry transplants in large, barrel containers. This way I have more control of their growing environment, specifically the soil. I’m also in the process of building a wooden fence around my property line and do not want to add any additional plants to work around during the building process. If you want to start your transplants off in containers, You will need to drill drainage holes in the bottom before using, otherwise anything you plant in them will drown. You can use just about anything to plant in, as long as it is big enough (at least 12 inches in diameter and 18 inches tall) and has drainage holes on the bottom. Aldi (seasonally) carries a really cost effective garden tub in their ‘center isle of random, yet useful things’. I grab a couple every year when they put them out. Once the cuttings have rooted and it is safe to move them outside (after all danger of frost has passed) you will need to make a soil mixture of organic peat moss, compost and really high quality top soil. I do not recommend purchasing the super cheap bags of top soil from big box garden centers, as they contain a lot of sand are are generally not well-suited for containers. I really like Black Kow products for creating my own soil mixtures. You want to mix your peat, compost and soil to a light and fluffy mixture that will be easy for roots to establish themselves in. You also want the mixture to hold just enough moisture, without being sopping wet. Elderberries like rich, moist soil. You will need to water containers more frequently during the hot summer months, be sure to check the soil daily to ensure your transplants do not dry out. This causes a lot of stress to the plant and sometimes they do not recover.
I recently transplanted my year old elderberry shrubs into bigger containers. They will be transplanted along my wooden fence next season, but for now they are happy and thriving in their slightly larger containers for this growing season. Elderberries are not meant to grow in containers for their entire lifespan, though. I opted to go this route to transplant larger, healthier shrubs that require less maintenance once planted in the ground.
Of course, if you want to expedite this whole process and purchase shrubs you can directly plant into well-prepared soil, that is also an option. However, elderberry bushes are not always easy to come by. It took me a couple seasons to finally find the varieties I was after. Here locally (Louisville, Kentucky) you can purchase them at Idlewild Butterfly Farm.
Elderberries make a great hedge planting and need room to spread out. Before planting elderberry in the soil, it is recommended to prepare the planting area by adding a mixture of peat moss and compost to help loosen the soil. It is also recommended to not use any fertilizers for the first growing season. Check them frequently to keep them from drying out.
Lastly, a pro-tip of sorts. To get the most bountiful berry production and healthiest shrubs, grow at least two varieties of elderberry to promote cross-pollination. This means the two plants’ genetic material combines and will have all the best characteristics of both varieties, creating healthier and stronger shrubs with a higher disease resistance. To encourage cross pollination, plant the varieties in close proximity to each other.
Starting your own elderberry patch is a process, but it can be a really fun learning experience. Especially if you have children. Turning the process into a learning experience is a great way to teach about plant grown and life cycles. It is also a lesson on patience and reaping the benefits of your hard work. I could even throw in a whole spiel about the “fruits of your labor”, corny yet applicable. I’ll stop while I’m ahead.
Happy Digging!
Diane
